
Learn how to give a tension-relief shoulder massage at home. Follow this step-by-step guide featuring proper hand techniques, oils, and safety rules.
The shoulders and upper traps absorb a massive amount of physical tension, especially for individuals who spend long hours working at desks, driving, or looking down at smartphones. This chronic muscle holding leads to severe stiffness, limited neck mobility, and stubborn knots.
Learning how to do a tension-relief shoulder massage allows you to provide targeted, spa-quality relief right at home. Understanding proper hand positioning, stroke sequencing, and pressure boundaries ensures you melt away stress safely and effectively.
1. Preparing for the Shoulder Massage Session
Proper preparation ensures comfort and helps your partner’s muscles relax before you begin applying deeper pressure:
-
Comfortable Seating or Positioning: Have your partner sit upright in a comfortable chair with back support, or lie face down on a massage table with a face cradle.
-
Warm Massage Oil or Lotion: Pour a small amount of carrier oil or unscented lotion into your palms and rub your hands together to warm the product before skin contact.
-
Relaxing Posture Check: Stand with your feet shoulder-width apart and your knees slightly bent to use your body weight rather than straining your wrists.
2. Step-by-Step Shoulder Massage Technique
Follow these core massage steps sequentially to release tension and restore mobility:
Step 1: The Warm-Up Effleurage (Broad Strokes)
Place both hands flat on your partner’s upper back and shoulders. Glide your hands firmly upward along the neck toward the base of the skull, then sweep outward across the top of the shoulders and down the arms. Repeat this fluid motion 5 to 6 times to warm the tissue.
Step 2: Petrissage (Kneading the Trapezius)
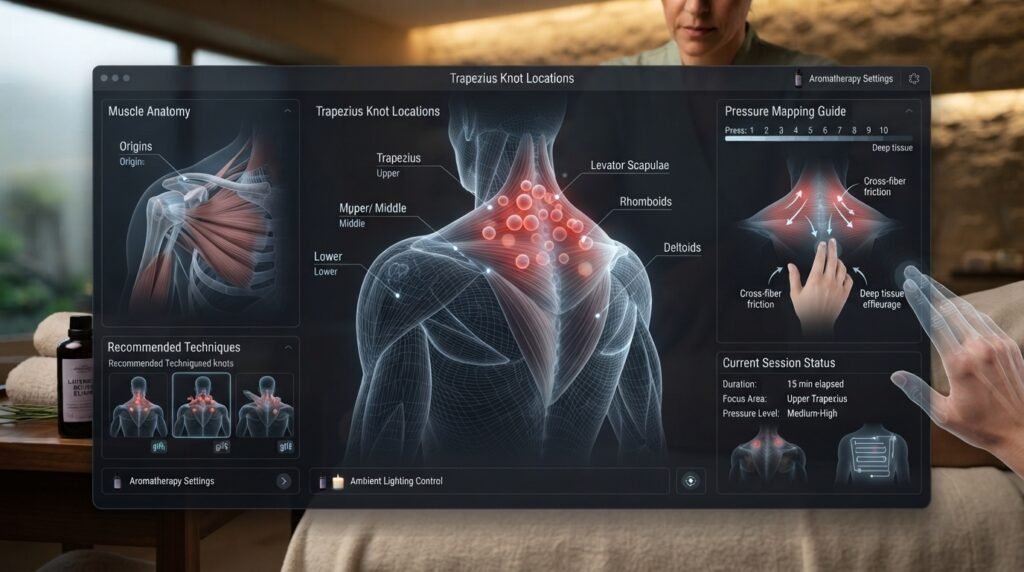
Grasp the thick muscle tissue at the top of the shoulders (the upper trapezius) between your fingers and thumbs. Gently squeeze and lift the muscle, working your way from the neck outward toward the shoulder joints. This breaks up superficial surface tightness.
Step 3: Thumbing the Shoulder Blades (Scapula Borders)
Use your thumbs to apply firm, steady circular pressure along the inner and outer edges of the shoulder blades (scapula). Muscles frequently knot up tightly underneath and around these bony ridges due to slouching posture.
Step 4: Effleurage (Cool-Down Strokes)
Conclude the session by returning to slow, gentle gliding strokes across the entire upper back and shoulders, signaling the nervous system that the session is complete.
Shoulder Massage Techniques Comparison
| Stroke / Movement | Target Area | Primary Action |
| Effleurage | Entire upper back and shoulders | Long, smooth gliding palms to warm tissue |
| Petrissage | Upper trapezius muscles | Squeezing and kneading to loosen surface knots |
| Thumb Friction | Edges of the shoulder blades | Focused circular pressure to release deep tension |
3. Essential Safety Rules
-
Avoid Direct Spine and Neck Pressure: Never apply heavy, direct pressure onto the cervical spine (neck bones) or the carotid arteries on the sides of the throat.
-
Check Pressure Frequently: Always ask your partner if the pressure feels comfortable, as shoulder tissues can bruise easily if pressed too aggressively.
-
Protect Your Own Hands: Use your forearms and body weight for leverage if your partner requires deep pressure, protecting your fingers from strain.
Conclusion
Giving a tension-relief shoulder massage at home provides an effective way to dissolve daily stress and ease muscle stiffness. By starting with warm oil, utilizing flowing effleurage, kneading the trapezius, and checking in on pressure levels, you can deliver an incredible therapeutic experience.