
Learn how to use a foam roller for back and leg pain relief. Discover self-myofascial release techniques, proper form, and safety rules.
Muscle tightness, intense workouts, and long hours sitting at a desk frequently lead to sore calves, stiff hamstrings, and aching backs. While visiting a massage therapist provides wonderful relief, self-myofascial release using a foam roller offers an effective, affordable way to manage muscle pain right at home.
Learning how to use a foam roller for back and leg pain helps release stubborn knots, improve joint flexibility, and speed up post-workout recovery. Understanding correct positioning, rolling speed, and safety boundaries ensures you relieve pain safely without causing injury.
1. What Is Foam Rolling and How Does It Work?
Foam rolling is a form of self-myofascial release that applies body weight pressure onto tight muscle tissues.
-
Releasing Fascial Restrictions: Fascia is the connective sheath covering muscles. Tight fascia restricts movement, but rolling breaks up these microscopic adhesions.
-
Boosting Blood Circulation: Rolling increases blood flow to the targeted muscle groups, flushing out metabolic waste and delivering fresh oxygen.
-
Improving Joint Range of Motion: Releasing tight calves, quads, and back muscles restores normal muscle length, reducing strain on surrounding joints.
2. Step-by-Step Foam Rolling Techniques
Different body parts require specific positioning and rolling movements to maximize safety and effectiveness:
A. How to Foam Roll the Calves and Hamstrings
-
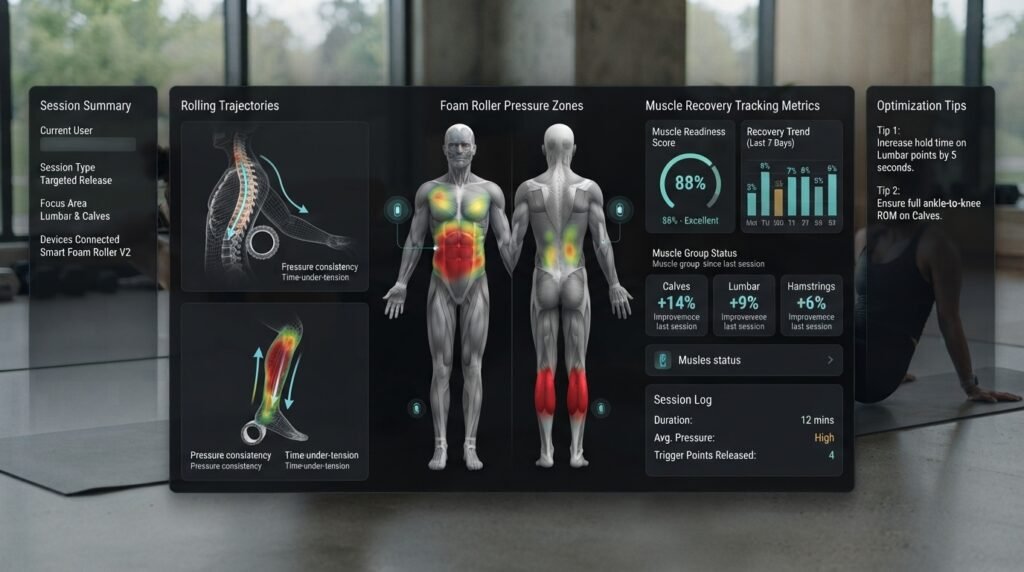
Calves: Sit on the floor with legs extended, place the foam roller under your calves, lift your hips using your hands, and slowly roll from just above your ankles up to below your knees.
-
Hamstrings: Sit with the foam roller positioned directly under your thighs, supporting your body weight with your hands behind you, and roll smoothly from your glutes down to your knees.
B. How to Foam Roll the Upper Back Safely
-
Upper Back Only: Sit on the floor, place the foam roller across your upper back (just below your shoulder blades), cross your arms over your chest, lift your hips slightly, and roll between your shoulders and mid-back.
-
Protecting the Lumbar Spine: Never roll directly over your lower back (lumbar spine). The lower back lacks rib cage support, and rolling it can cause spinal muscles to spasm.
Foam Rolling Areas Comparison
| Body Region | Target Muscle Groups | Key Rolling Direction | Safety Warning |
| Calves & Legs | Gastrocnemius, soleus, hamstrings, quads | Long, smooth strokes from joints upward | Avoid rolling directly behind the knee joint |
| Upper Back | Thoracic spine, rhomboids, lats | Controlled rolling between shoulders and mid-back | Never roll directly on the lower back vertebrae |
3. Essential Rules for Safe Foam Rolling
-
Move Slowly: Rushing back and forth quickly triggers a protective muscle-tightening reflex. Move slowly—about one inch per second.
-
Pause on Tender Knots: When you locate a tight trigger point, pause directly on it for 20 to 30 seconds until the discomfort begins to ease.
-
Breathe Deeply: Keep your breathing steady and relaxed; holding your breath causes your muscles to tense up against the pressure.
Conclusion
Using a foam roller correctly provides an excellent, cost-effective method for managing back and leg stiffness at home. By rolling slowly, targeting tight calves and hamstrings, and avoiding direct pressure on the lower spine, you can keep your muscles flexible and pain-free.